Saturday, September 13, 2014

Banana Date Walnut Bread (And It's Vegan!)


There's been a high demand for a vegan version of my banana bread in the household lately, so I've been up to my elbows baking. As most of you know, I'm not a natural baker, so it's definitely been a practice in following the rules. You can't just feel your way through baking, like you can for other forms of cooking. But I've managed to keep the creative flow by experimenting with variations of recipes, and I think I've come up with a pretty good one. 

The key is: don't skimp on the bananas! 

I was baking two batches last week and fell just a little short on bananas with the second one; the difference in taste and moistness was apparent. The bananas should be ripe, with no green on the skin! This ensures their natural sweetness, thus requiring less sugar than a lot of other recipes.
  • 1/2 cup brown sugar (not packed)
  • 2 cups all-purpose flour
  • 3/4 tsp sea salt
  • 3/4 tsp baking soda
  • pinch of nutmeg
  • pinch of cinnamon (you can use up to 1/4 tsp; I'm sensitive to the flavor so I prefer to use less.)
  • 4 medium ripe bananas (mashed, not pureed)
  • 3 tbs olive oil (or coconut oil)
  • 1/2 cup chopped dates
  • 1 tsp vanilla extract
  • 1/2 cup almond milk
  • 1 tsp apple cider vinegar
  • 1/2 cup chopped walnuts

Preheat oven to 350 F.

In medium bowl, mix sugar, flour, baking soda, cinnamon, nutmeg and salt. In large bowl, mash bananas. Add oil, vanilla extract, and dates. Stir until combined. 

In separate bowl, whisk together almond milk and vinegar. Let stand 2-3 three minutes, then add to banana mixture. You might be wondering, why are we adding vinegar to banana bread? I thought the same thing when I first came across recipes that included this step. Think of it as a vegan "buttermilk" that adds a lightness to the final product. 

Add dry ingredients to the wet, stir together. Be careful: too much stirring and you will end up with a dense loaf! Fold in walnuts. 


Lightly oil a 9 x 5 loaf pan. I used one of those spray misters to get an even coating with less oil.  Pour banana bread mixture into pan and pop into oven for 45-50* minutes. When done, a toothpick inserted into the center of the bread should emerge clean. Place on cooling rack for 15 minutes. Then slice, serve and enjoy!

*Due to oven variations, I advise to check on the banana bread after about 40 minutes. 

Sunday, May 11, 2014

Corn, Edamame + Arugula Salad

In honor of Mother's Day, my siblings and I got together and made brunch for the family. This refreshing salad, with the peppery kick of arugula and lemon-mustard vinaigrette, was the perfect accompaniment to some of the richer dishes. It's quick, delicious and visually appealing. 

This colorful salad is perfect for a light lunch, or pair it with a quiche for your next brunch!
Salad:
  • 1 (7 oz.) bag wild arugula
  • 2 cups shelled edamame (I used Trader Joe's frozen edamame, defrosted)
  • 2 cups white corn 
  • 1 roma tomato, diced
  • 1/4 cilantro, chopped
Wash arugula, drain and pat dry. In large bowl, combine ingredients. Drizzle with lemon-mustard vinaigrette and toss lightly. Serve with a slice of quiche, frittata, or tea sandwiches. Voilà, brunch is served. 
 
Lemon-Mustard Vinaigrette:
  • juice of 1 large lemon
  • 2 tablespoons Dijon mustard
  • 1 medium garlic clove, minced
  • 1/2 cup extra-virgin olive oil
  • 1/2 tsp fresh cracked black pepper
  • coarse sea salt, to taste

In small bowl, whisk together above ingredients. Drizzle a few tablespoons of the vinaigrette over salad and toss lightly, adding more if desired. Remaining dressing can be stored in an airtight glass container for 3-4 days. 


  • Tuesday, March 4, 2014

    Banana-y Banana Bread


    This banana bread isn't for everyone. It's for the real banana lovers, the ones who love anything and everything banana. I think the key to a great banana bread is that it's moist and actually tastes like the fruit it's named after. I can't count how many times have I've excitedly reached for a slice, only to find it dry and tasteless. Here, I add an extra banana to combat both those issues. After experimenting with several recipes, I came up with this concoction for a simple to make and moist banana bread.
    • 4 medium bananas, really ripe, mashed
    • 1 2/3 cups all-purpose flour
    • 1 tsp baking soda
    • 1 tsp pure vanilla extract
    • 1/3 cup unsalted butter
    • 1/2 cup chopped walnuts
    • pinch of salt
    • 1 cup brown sugar
    • 1 egg

    Preheat oven to 350 degrees.

    In large bowl, cream sugar and butter. I found that brown sugar doesn't whisk into the butter as easily as white sugar does, so use a wooden spoon instead. If you find the brown sugar and butter start clumping, use the flat side of the spoon.

    In separate smaller bowl, whisk egg and vanilla. Add to the creamed sugar and butter. Then add flour, baking soda and a pinch of salt, and stir just until wet and dry ingredients are combined. Fold in walnuts. Note: too much stirring and you will end up with a dense loaf, so don't over-stir!


    Evenly spray a 9"x5" loaf pan with non-stick spray coating. Pour batter into pan and bake for 50-60 minutes, until a toothpick comes out clean. I would check a few spots with this particular recipe, as you might just be hitting a piece of banana and not the actual bread. Cool on rack, then transfer to plate and serve. (Though my mom and I sliced off a couple of piping hot pieces and they were amazing right out of the oven!)

    Perfect with coffee or tea, I could eat this everyday. Hope you enjoy!


    Friday, January 17, 2014

    Kitchen Tip: Don't Toss Out Those Beet Greens!

    Don't toss out those beet greens -
    those hearty leaves and stalks are full of nutritional value and great taste.

    Some of you may already know this but next time you're at your local farmer's market buying beets, don't throw away those greens at the end of your beets. I had bought beets countless times from the market and it would generally go the same way each time. I would pick out the bunch of beets I wanted and then hand them over to the person at the register, who would then twist off the stalks with their flowing leaves and heap them onto a pile of similarly discarded vegetables.

    Then one day something different happened. I found myself once again buying beets and the gentleman, instead of tossing aside the stalks, asked me if I'd like to take them home. "Really? What would I do with them?" I had always figured they were inedible so I hadn't given them much thought. He gave me a knowing smile that said I had some things to learn. "Cook them up! They're good for you." He shared that he had been cooking with them for years, using them the way you would spinach, chard or collard greens.

    Ever since then, I make sure to pick out the freshest looking bunch with bright green leaves still in tact. They don't hold up as well as the beet root itself so cut and store them separately and try to cook them within a few days.

    Here's a quick and easy way to prepare them:
    • 2 cups chopped beet leaves
    • 1 cup chopped beet stalks
    • 4 cloves garlic, minced
    • olive oil
    • salt + pepper
    • juice of 1/2 lemon


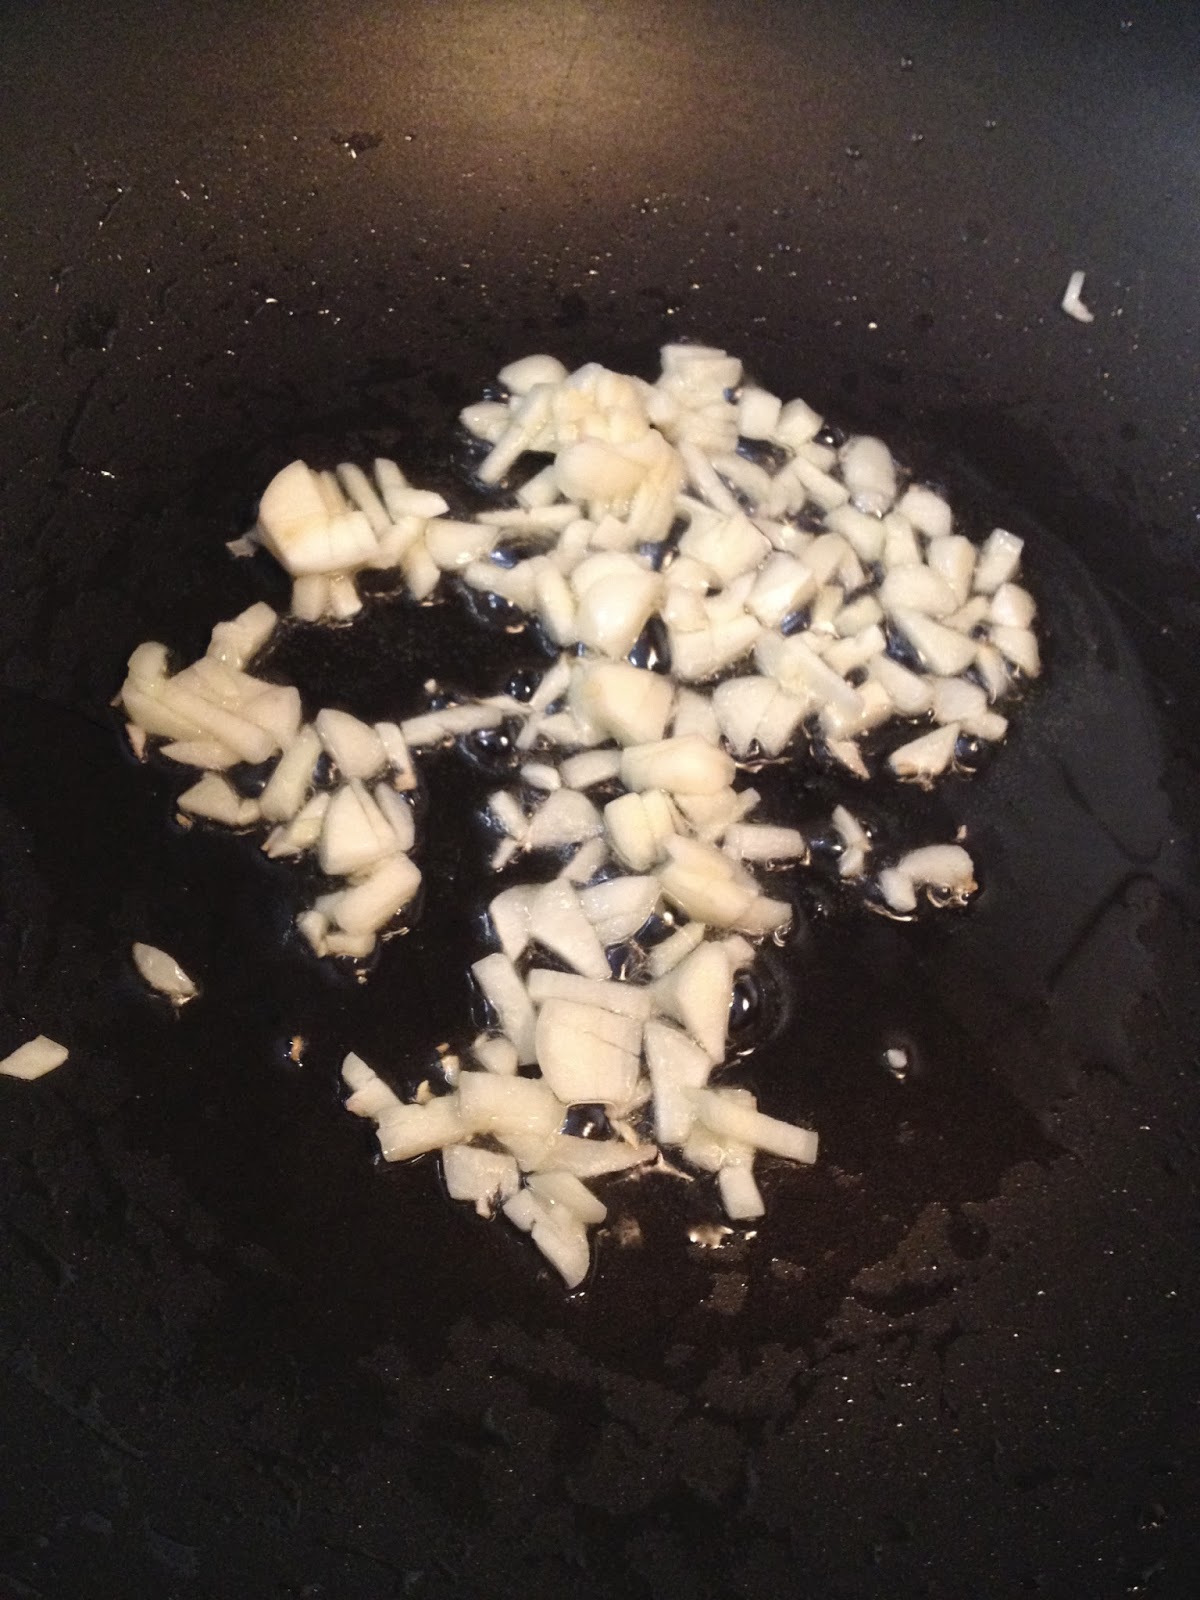
    Heat 3 tbs olive oil. Add minced garlic and cook for 15-20 seconds, stirring to keep them from burning. Add chopped stalks and sauté for approx. 4 minutes. Then add leaves and continue to cook for another 4-5 minutes. At the end, stir in lemon juice and sprinkle with salt and pepper to taste.*

    *Alternative version: At the end, stir in lemon juice, 1 tbs soy sauce, 1 tsp honey + pepper. I tried this and the touch of honey adds a slight sweetness to contrast the delicious bitter greens. If trying this version, skip the salt.


    You can add these colorful beet stalks and leaves in pretty much any dish
    that calls for chard or spinach, such as frittatas, soups and quinoa.